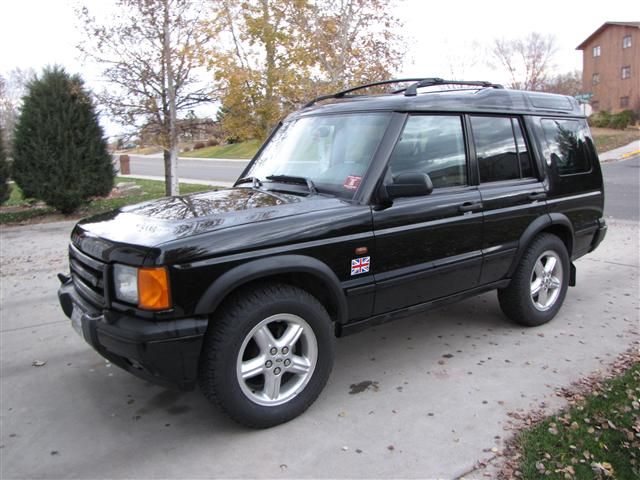
Just needs a bit more altitude
I had read up on many different options for expedition rated Disco suspensions, and I knew what I wanted out of mine. I didn't want too much of a lift. Mostly I wanted a little additional ground clearance, a good on road ride, and a little more load-bearing capacity. Eventually I settled on the tried, tested, and true stuff from the good folks at Old Man Emu. I knew I was going to end up adding a big, beefy bumper at some point, so the added weight was a factor I needed to think about. A quick call to John at Expedition Exchange (expeditionexchange.com), and I decided on the HD spring set (OME779) and a set of 4 OME NitroCharger Sport shocks. All in all the purchase came to $356. Not a bad deal at all. They arrived promptly and in perfect shape. I have nothing but good things to say about Expedition Exchange.

I also knew I wanted to retain the factory air suspension in the back, because I feel this would be an asset on an expedition vehicle. As long as I carry a spare air spring. The air suspension allows me to keep the vehicle level, even when the back of the Disco was loaded to the point of explosion. It also helps that I can raise the back of the car to give it a better departure angle. So this meant I wanted some spacer blocks for the back. Not a big ask, right? HA! After doing some reading on a Brit DII enthusiast's site, discovery2.co.uk, I tried going with ToddCo Suspensions out of Atlanta. I went on the ToddCo site and ordered a set of spacers. After ten days with no contact and nothing arriving at my door, I tried calling the company about fifty times and fired off a few emails. Nothing. So, I sent an email cancelling my order (which was promptly responded to), and went to another, very highly recommended manufacturer of Land Rover parts, RTE Fabrication. (rte-fab.com). This was both a good and bad decision.
A few calls to RTE Fab and things were looking good. Their customer service was fantastic, and although they took quite a while to make my part (they were behind on other orders and I ordered during a rather busy time of the year), they were very good about explaining things and overall the experience was good. So, once I finally got all that crap together, I could go ahead and install the lift. This part was pretty straightforward.
I drove my Disco over to my friend Mitchell's house. He's just about the most mechanically inclined person I know, he's the best fabricator I've met, and he helps me out with a lot of the work I do. And best of all, he's FREE! So you'll be seeing a lot of him.

I got the car up on jack stands with the tires off, then Mitchell and I unbolted and removed the shock towers.


Once that was done, we popped the shock towers out, removed and replaced the old shocks, and installed the new springs, which I had just then discovered were the same length as the factory springs. I almost s**t my pants when I saw that, thinking they wouldn't lift the car at all. But then I saw the difference in the spring thicknesses and realized that it gets the lift from the increased spring rate. Okey doke, not a problem.

New shocks installed in the shock towers

The only clean parts under the damn thing

Mitchell putting the passenger's side back together
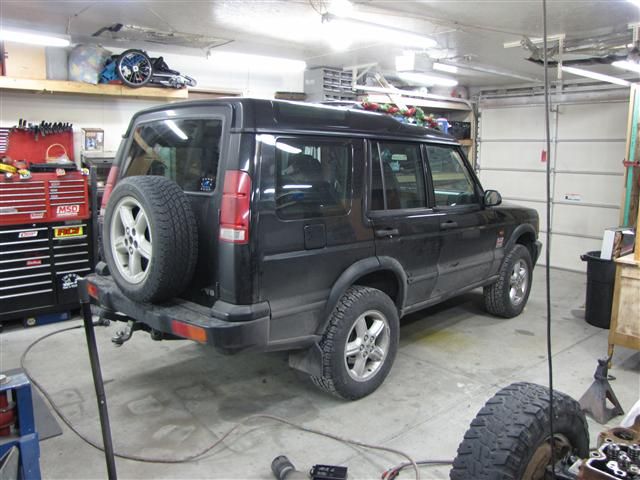
Once the front was put together, I pulled out of the garage, turned around, and backed in. Time to do the back. This is where things got complicated. Upon inspection of the air spring spacer kit I got, we noticed something amiss. It's difficult to explain, but basically the bolts that were supposed to hold it to the car were threaded into holes that weren't drilled at the correct angle into the stock. So they're made a bit wonky. But we managed to make them work, with a lot of drilling. It is for this reason that I DON'T recommend that anyone buy the RTE spacers. RTE makes awesome products, just not spacers. My suggestion is to buy ToddCo spacers from Lucky8 Off Road (lucky8llc.com). Their customer service is fantastic and they would act as a middleman for the better ToddCo parts.
Spacers and height sensor relocation brackets

Up in the air

New air springs and spacers installed

Height sensor relocation brackets
After all that work, we aired the suspension back up a bit, reinstalled the tires, and took it off the jacks. And it was done!
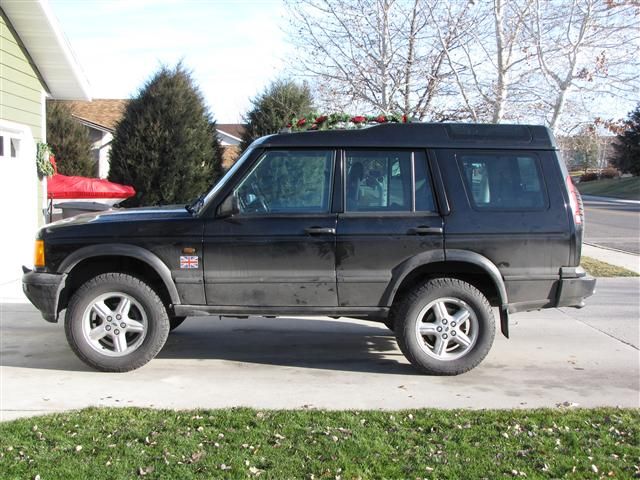
All installed and done
We then spent a few minutes adjusting the height sensors to level it and and BAM! Done. I think it looks fantastic, and it drives even better than it did before, which is amazing because of the Active Cornering system that came on it. And there it is. I was able to net 2 1/4" of lift overall.
No comments:
Post a Comment